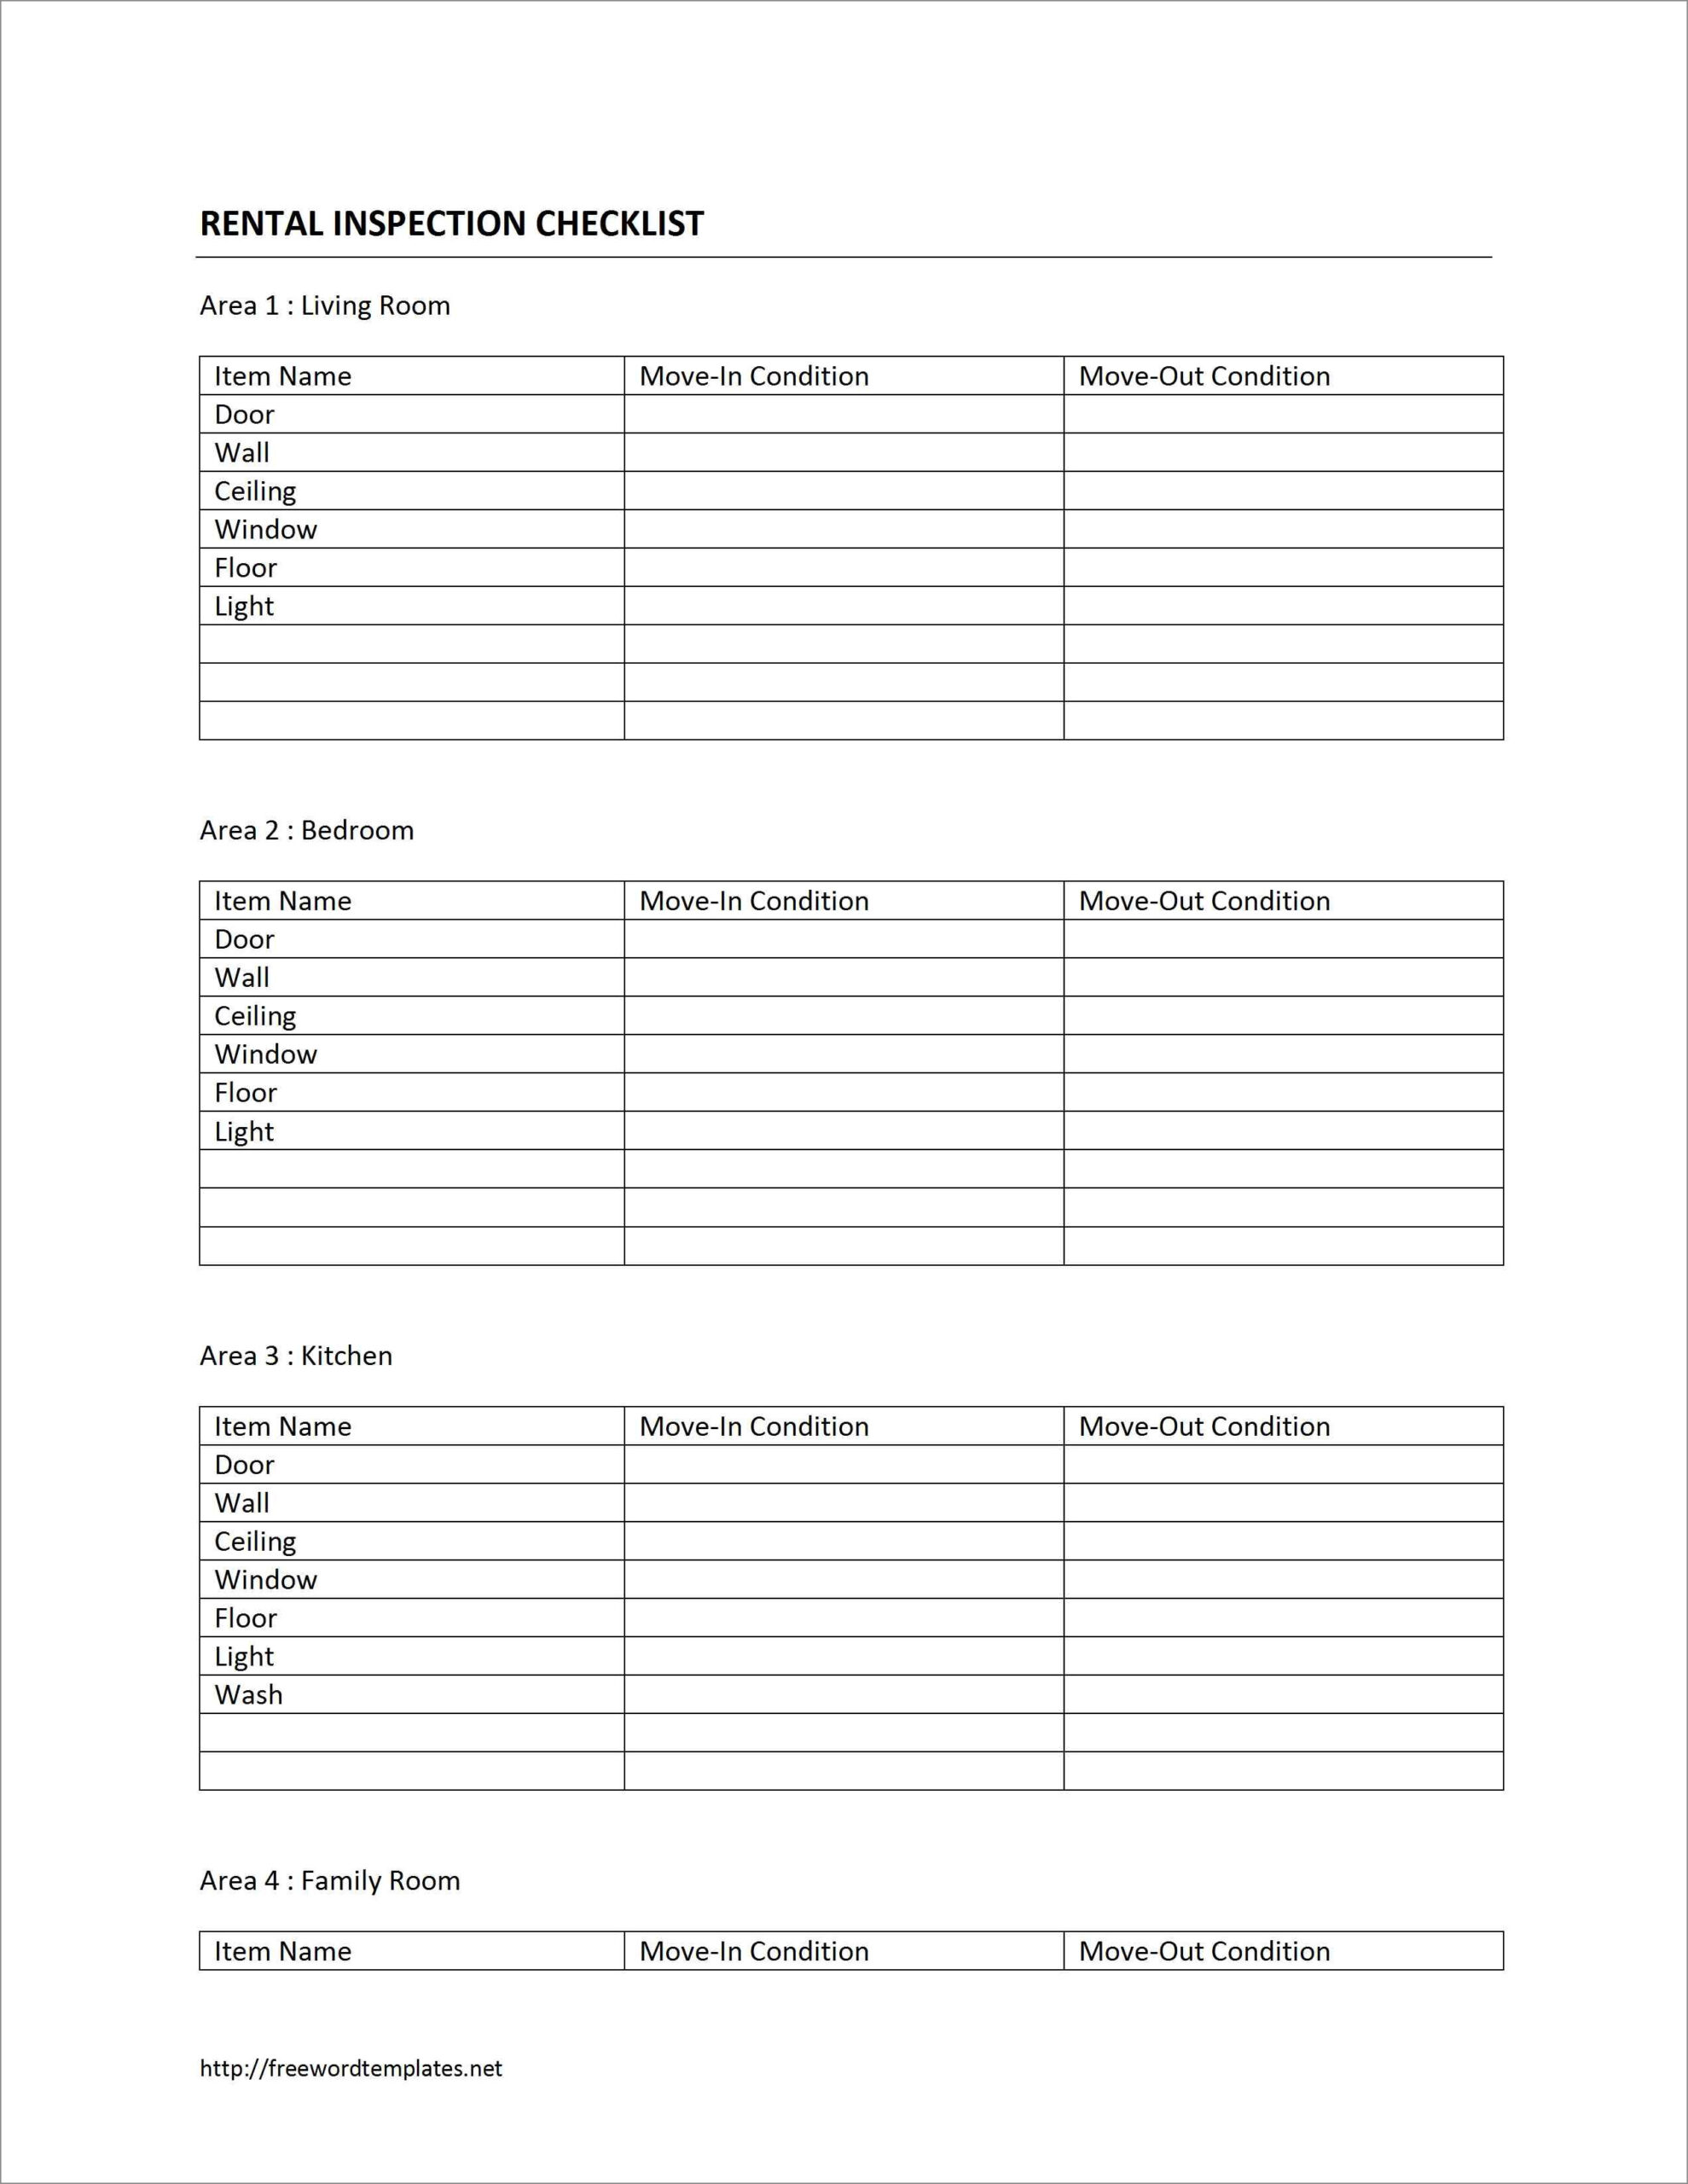
When it comes to renting a property, it’s crucial to conduct a thorough inspection before moving in. A rental inspection checklist is a handy tool that can help both tenants and landlords ensure that the property is in good condition and that any existing damages or issues are properly documented.
In this article, we will provide you with a comprehensive rental inspection checklist, along with useful tips and guidelines to make the process as smooth as possible.
What is a Rental Inspection Checklist?
A rental inspection checklist is a detailed document that outlines the condition of a rental property before a tenant moves in. It includes a comprehensive list of areas and items that need to be inspected, such as walls, floors, appliances, plumbing, and more. The checklist serves as a reference point to assess the condition of the property during the move-in and move-out processes, ensuring transparency and accountability for both tenants and landlords.
Why is a Rental Inspection Checklist Important?
A rental inspection checklist is important for several reasons:
- Protects both tenants and landlords: By conducting a thorough inspection and documenting any existing damages, both tenants and landlords can protect themselves from potential disputes and conflicts regarding the condition of the property.
- Ensures transparency: A checklist provides a clear record of the property’s condition, ensuring that both parties are aware of any pre-existing issues or damages.
- Helps with security deposit refunds: When tenants move out, the checklist serves as a reference to determine if any damages occurred during their tenancy, which may impact the refund of their security deposit.
- Allows for timely repairs: By identifying any damages or maintenance issues early on, landlords can address them promptly, ensuring the property remains in good condition.
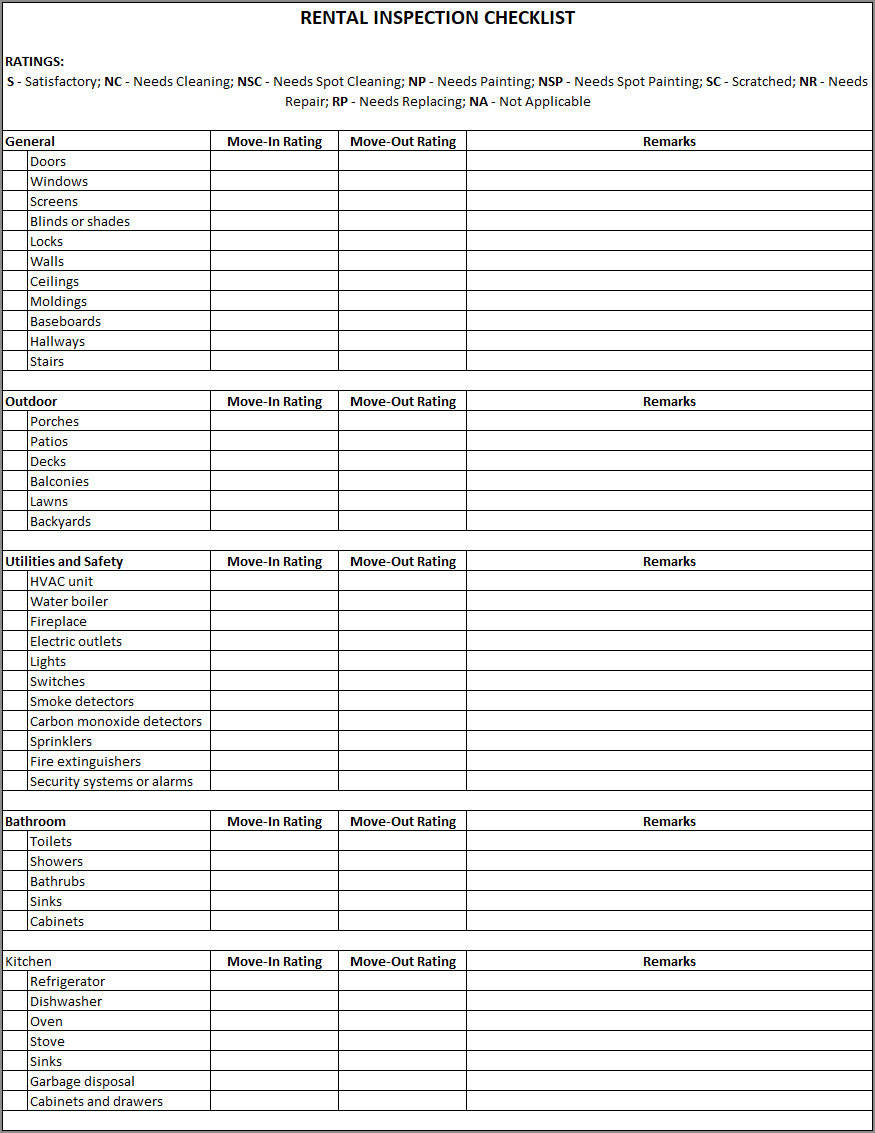
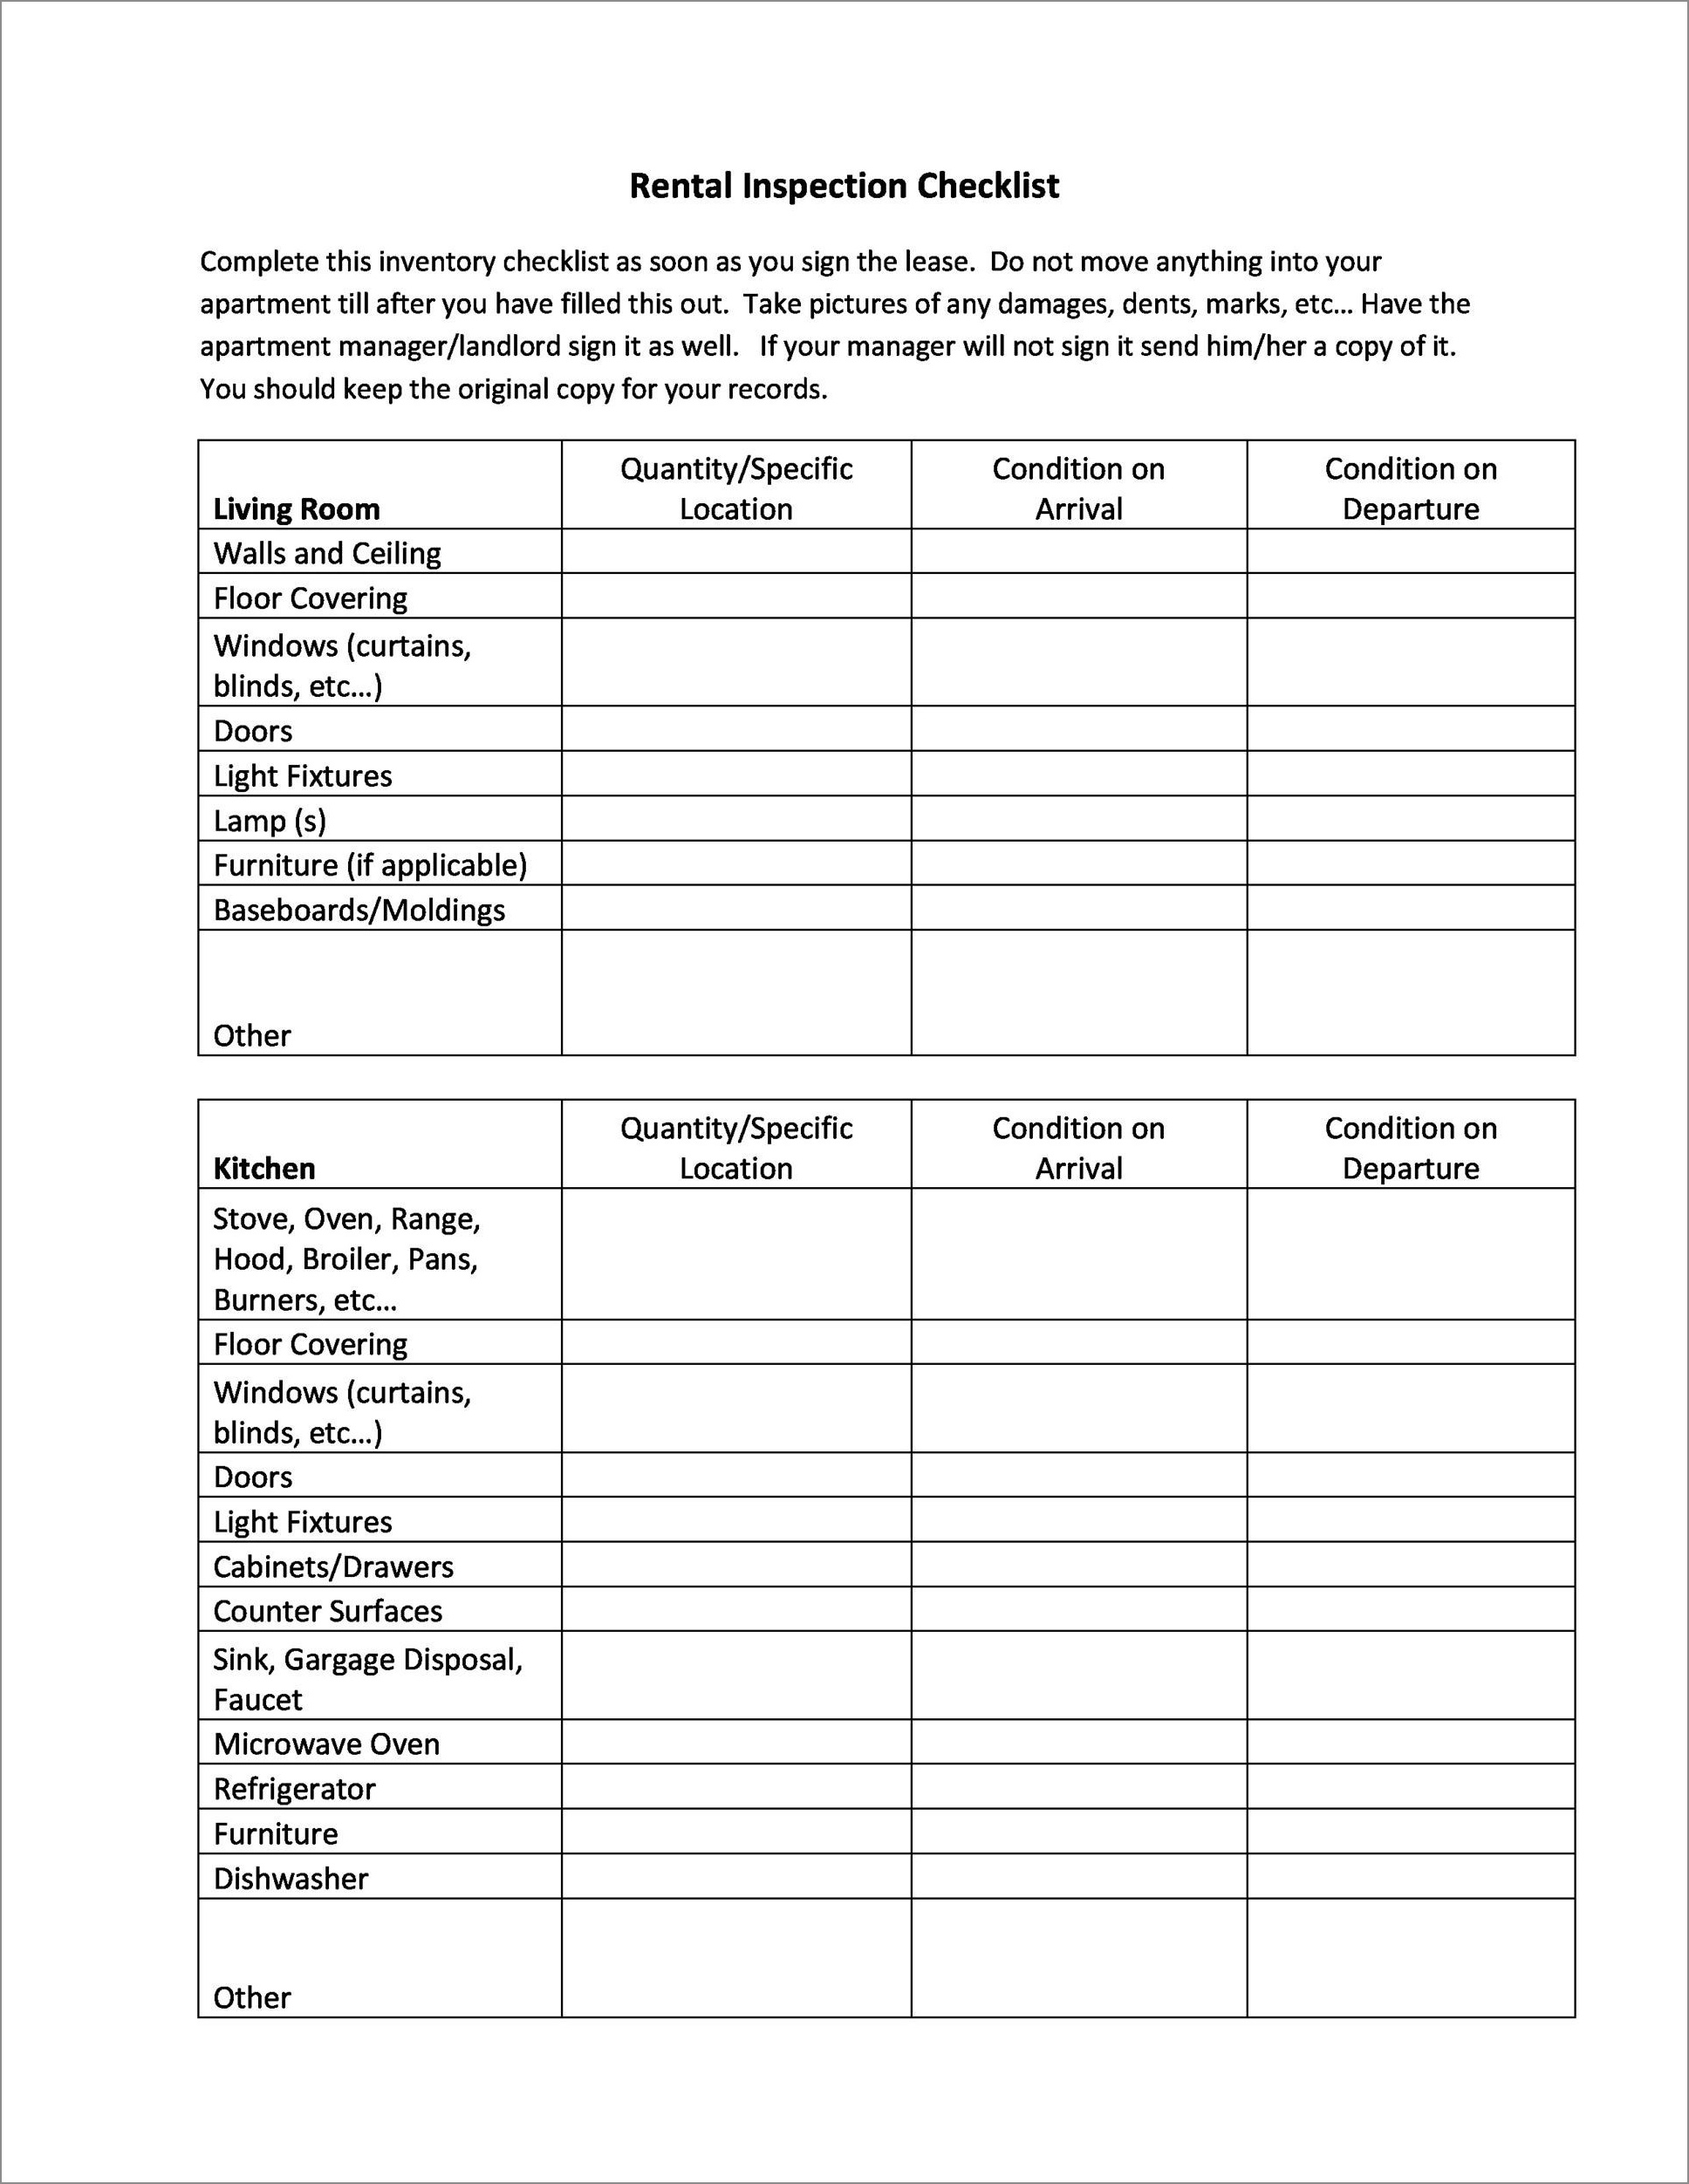
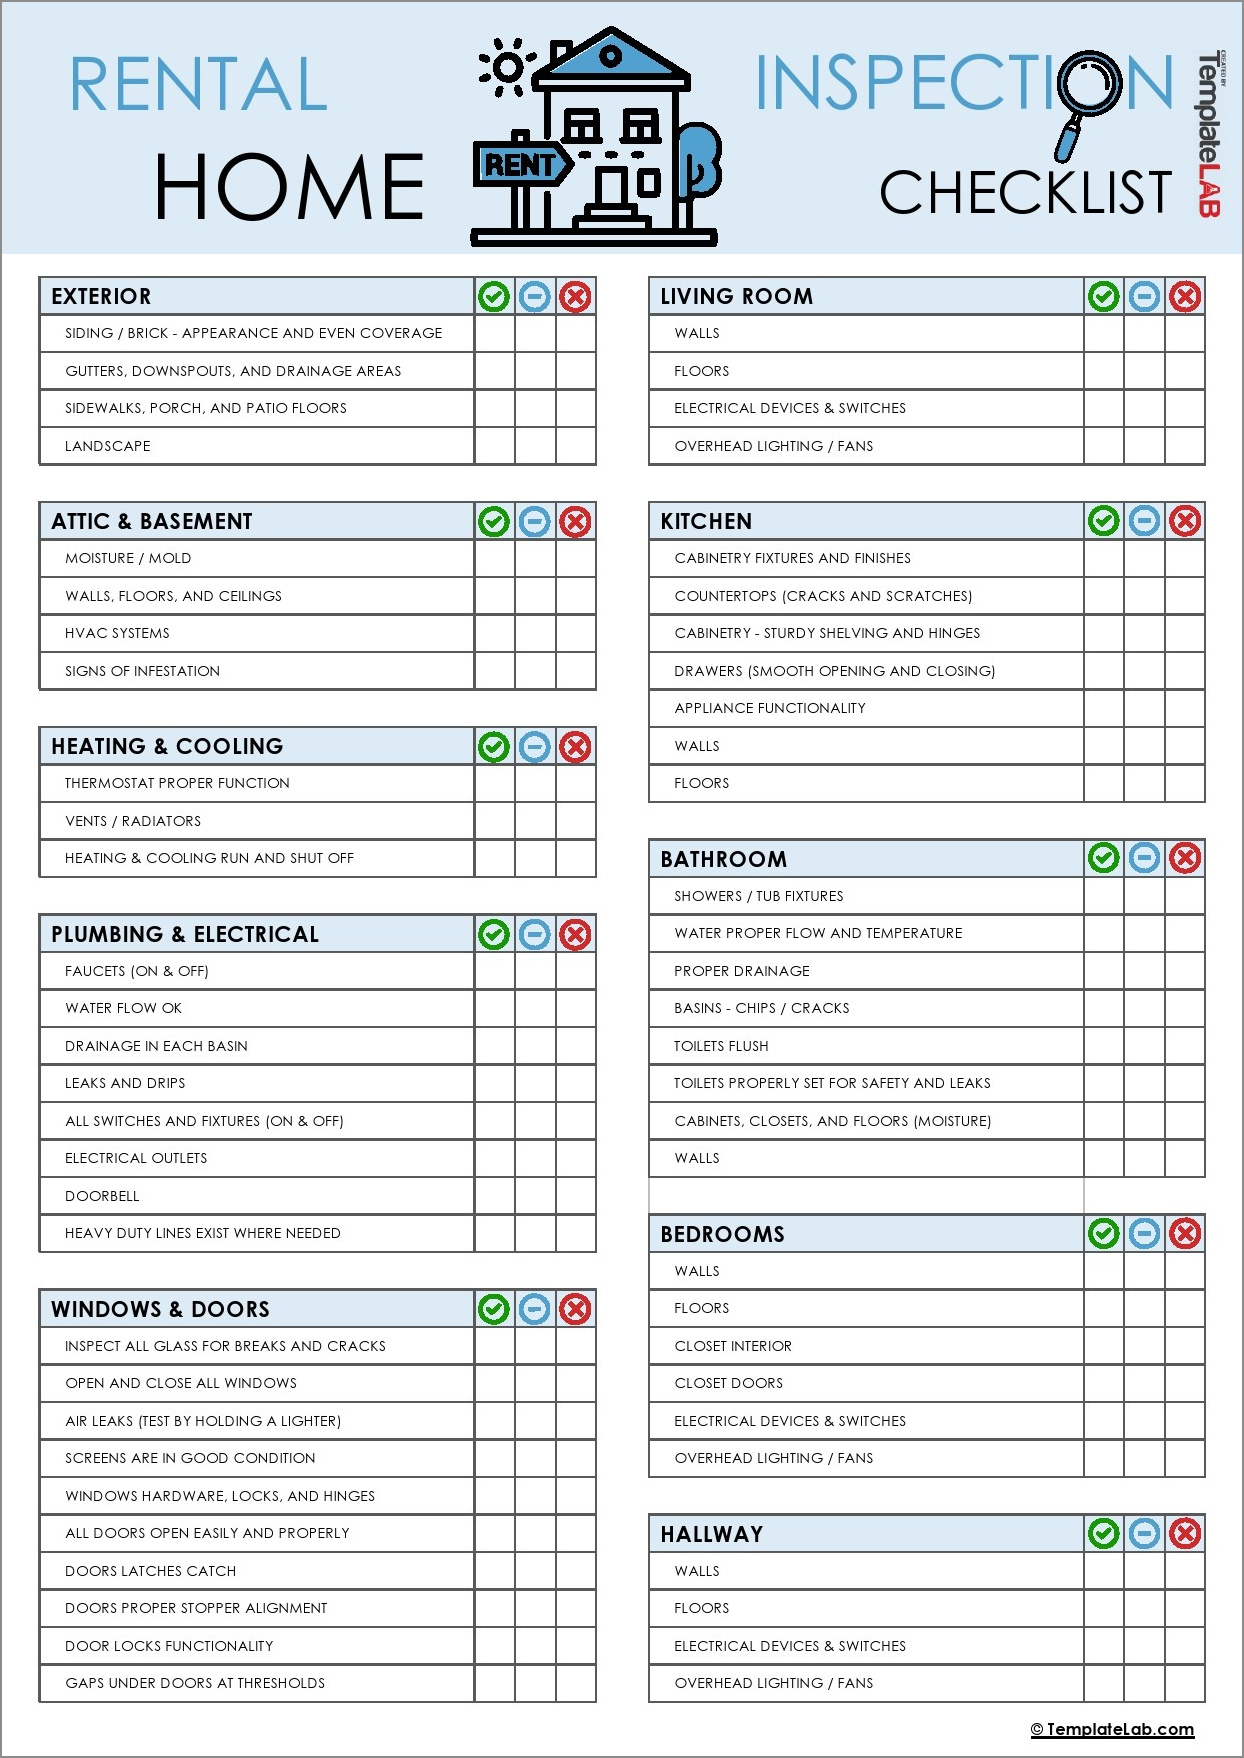
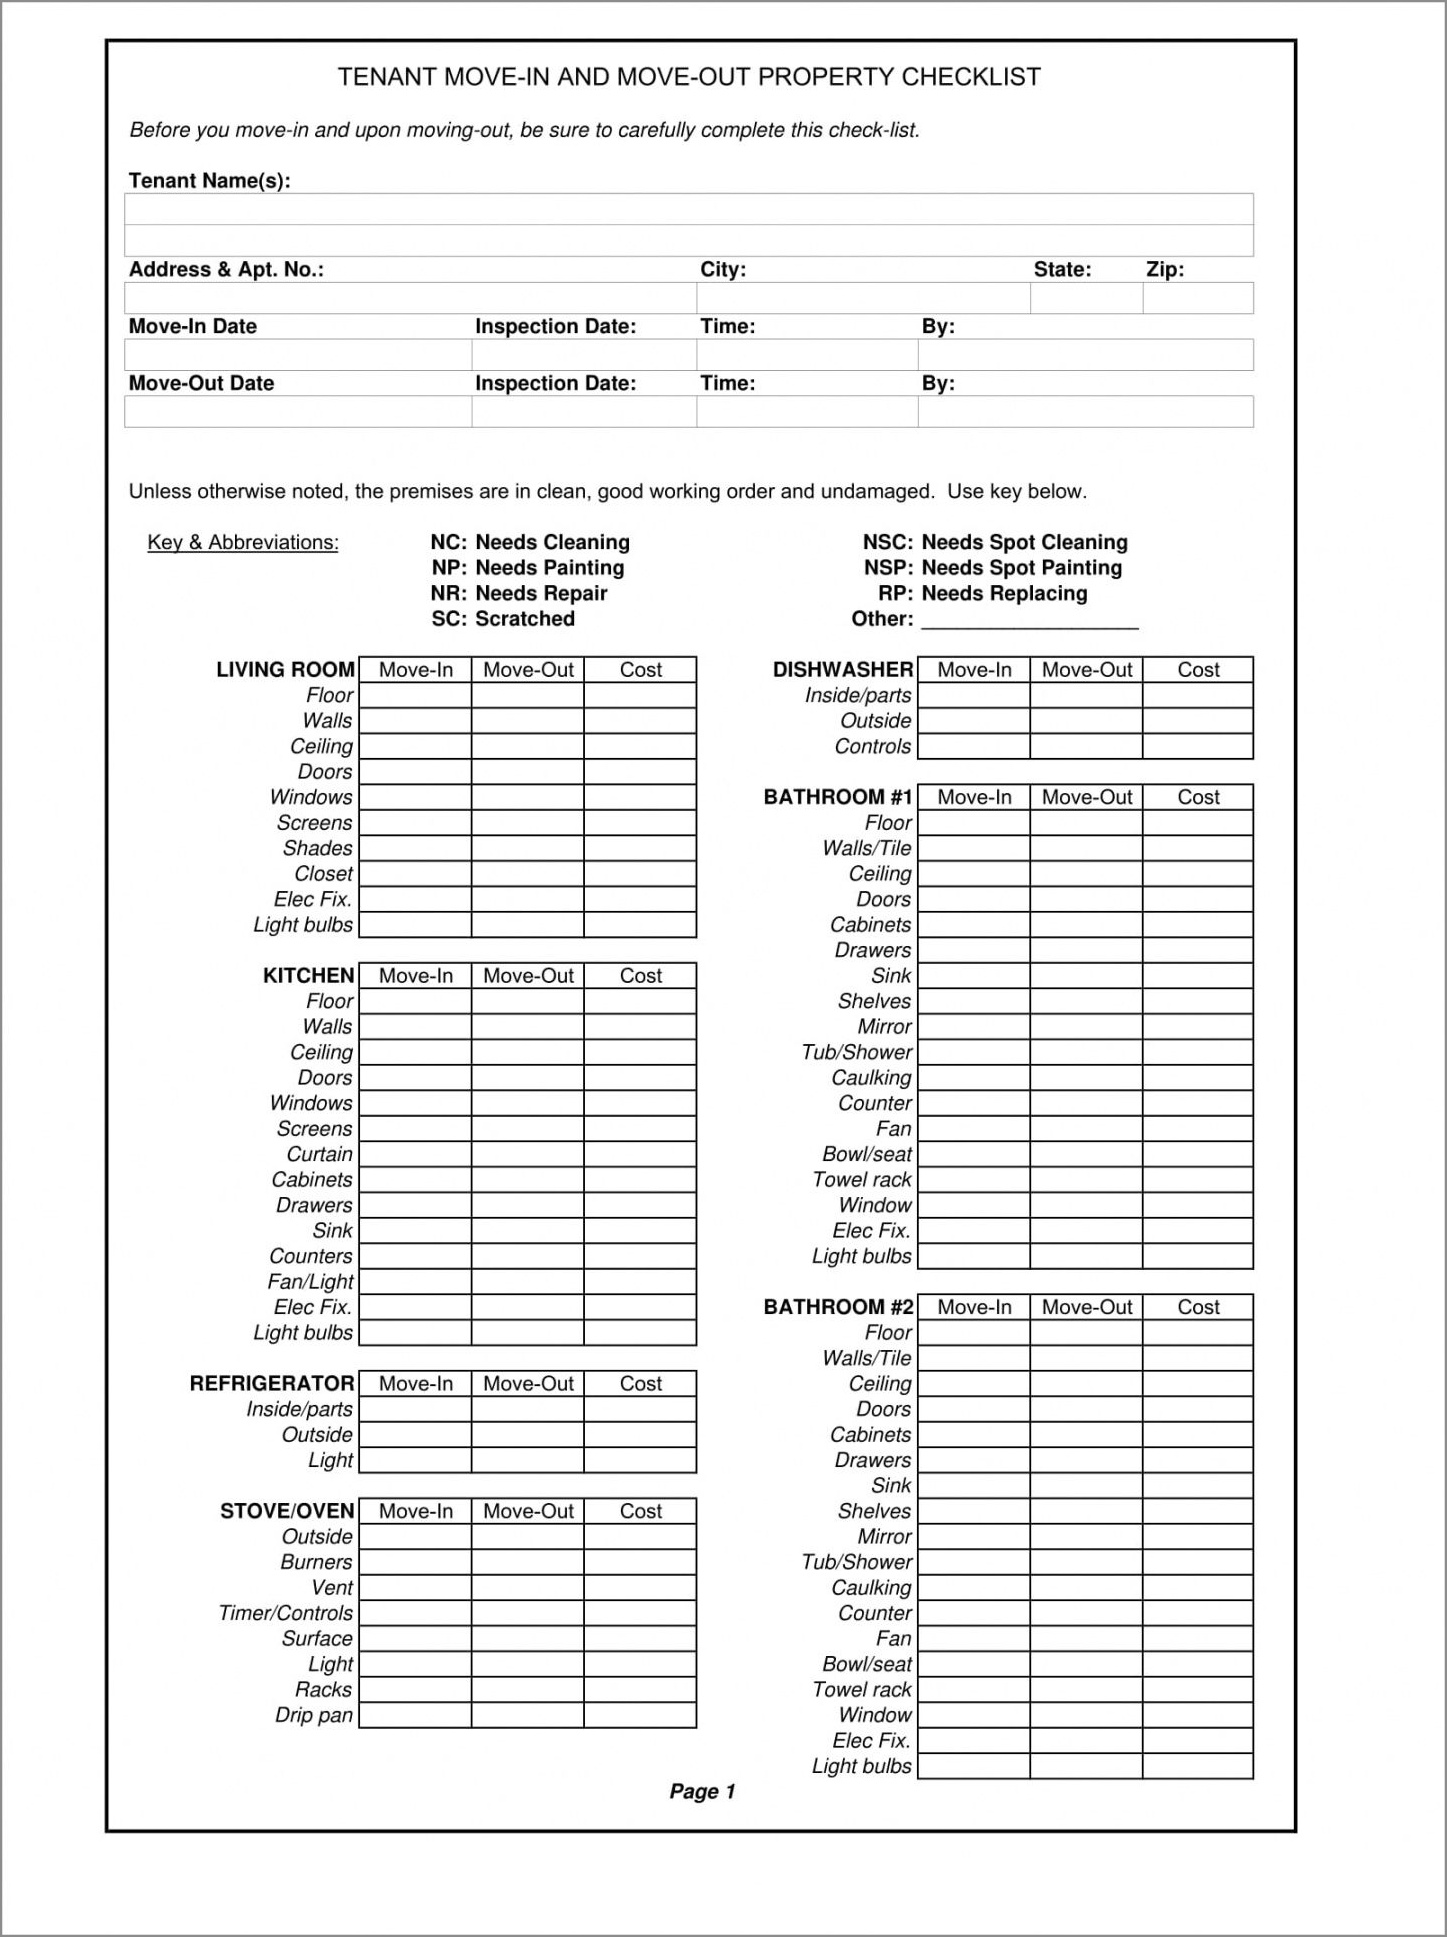
How to Use a Rental Inspection Checklist
Using a rental inspection checklist is a straightforward process. Here’s a step-by-step guide:
Step 1: Obtain a Copy of the Checklist
Before conducting the inspection, make sure you have a copy of the rental inspection checklist. You can request it from your landlord or property management company.
Step 2: Schedule the Inspection
Coordinate with your landlord or property manager to schedule a convenient time for the inspection. It’s best to inspect before you move in, while the property is vacant.
Step 3: Inspect the Exterior
Start by inspecting the exterior of the property. Check for any damages to the walls, windows, doors, roof, and landscaping. Take note of any issues you find on the checklist.
Step 4: Inspect the Interior
Next, move inside and thoroughly inspect each room. Check the walls, ceilings, floors, and windows for any damages or signs of wear and tear. Test all appliances, lights, switches, and outlets to ensure they are in working order. Inspect the plumbing fixtures and look for any leaks or water damage. Don’t forget to check the HVAC system, if applicable.
Step 5: Document Existing Damages
As you conduct the inspection, document any damages or issues you find on the checklist. Take photos or videos as evidence, if possible. It’s important to be thorough and detailed to avoid any misunderstandings later on.
Step 6: Discuss Findings with the Landlord
After completing the inspection, review your findings with the landlord or property manager. Go through the checklist together and address any concerns or questions. If necessary, discuss potential repairs or improvements that need to be made.
Step 7: Keep a Copy of the Checklist
Once the inspection is completed, make sure to keep a copy of the checklist for your records. This will serve as a reference point throughout your tenancy and during the move-out process.
Top 5 Items to Include in a Rental Inspection Checklist
While a rental inspection checklist should be comprehensive, here are the top five items that should not be missed:
- Walls and Floors: Check for any damages, such as holes, cracks, or stains.
- Appliances: Test all appliances, including the refrigerator, stove, dishwasher, and washer/dryer, to ensure they are in working order.
- Plumbing: Inspect all faucets, sinks, toilets, and showers for leaks or water damage.
- Electrical: Test all lights, switches, and outlets to ensure they are functioning properly.
- Windows and Doors: Check for any damages or issues with locks, handles, or screens.
Conclusion
Using a rental inspection checklist is essential for both tenants and landlords to ensure a smooth move-in process and avoid any disputes or conflicts regarding the condition of the property. By following the steps outlined in this article and using the checklist as a reference, you can confidently assess the property’s condition and address any concerns before signing the lease agreement. Remember, a thorough inspection and proper documentation are key to a successful tenancy.
Rental Inspection Checklist Template – Download
