Electric panel schedules may not be the most exciting topic, but they play a crucial role in ensuring the safety and functionality of your electrical system. If you’re a homeowner or an electrician, understanding what an electric panel schedule is and how to use it is essential.
In this article, we’ll cover everything you need to know about electric panel schedules, including what they are, why they’re important, and how to create one.
What is an Electric Panel Schedule?
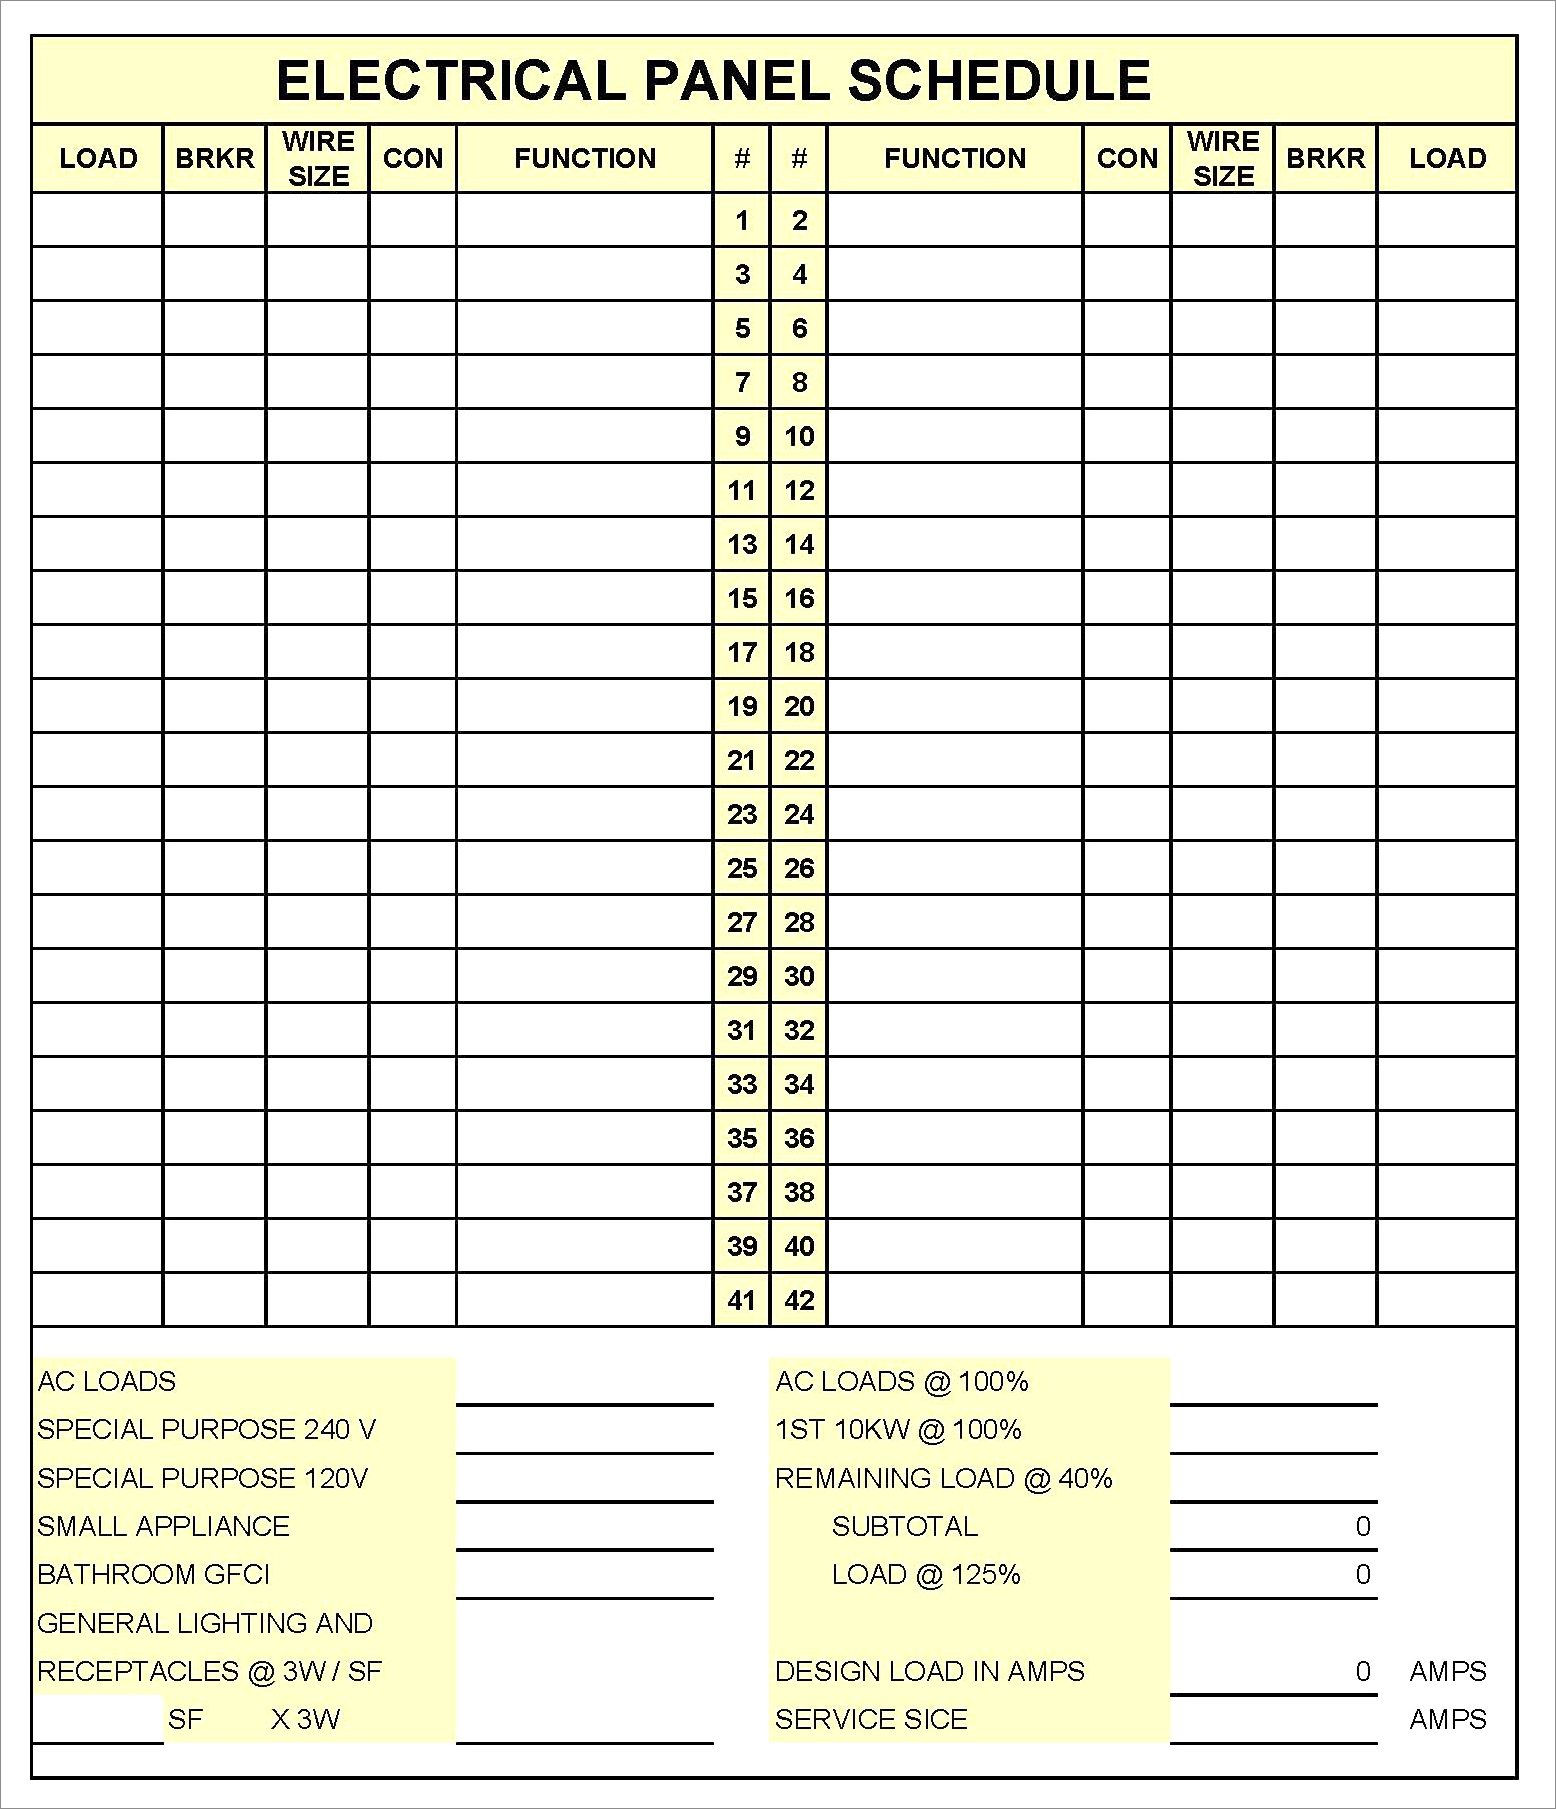
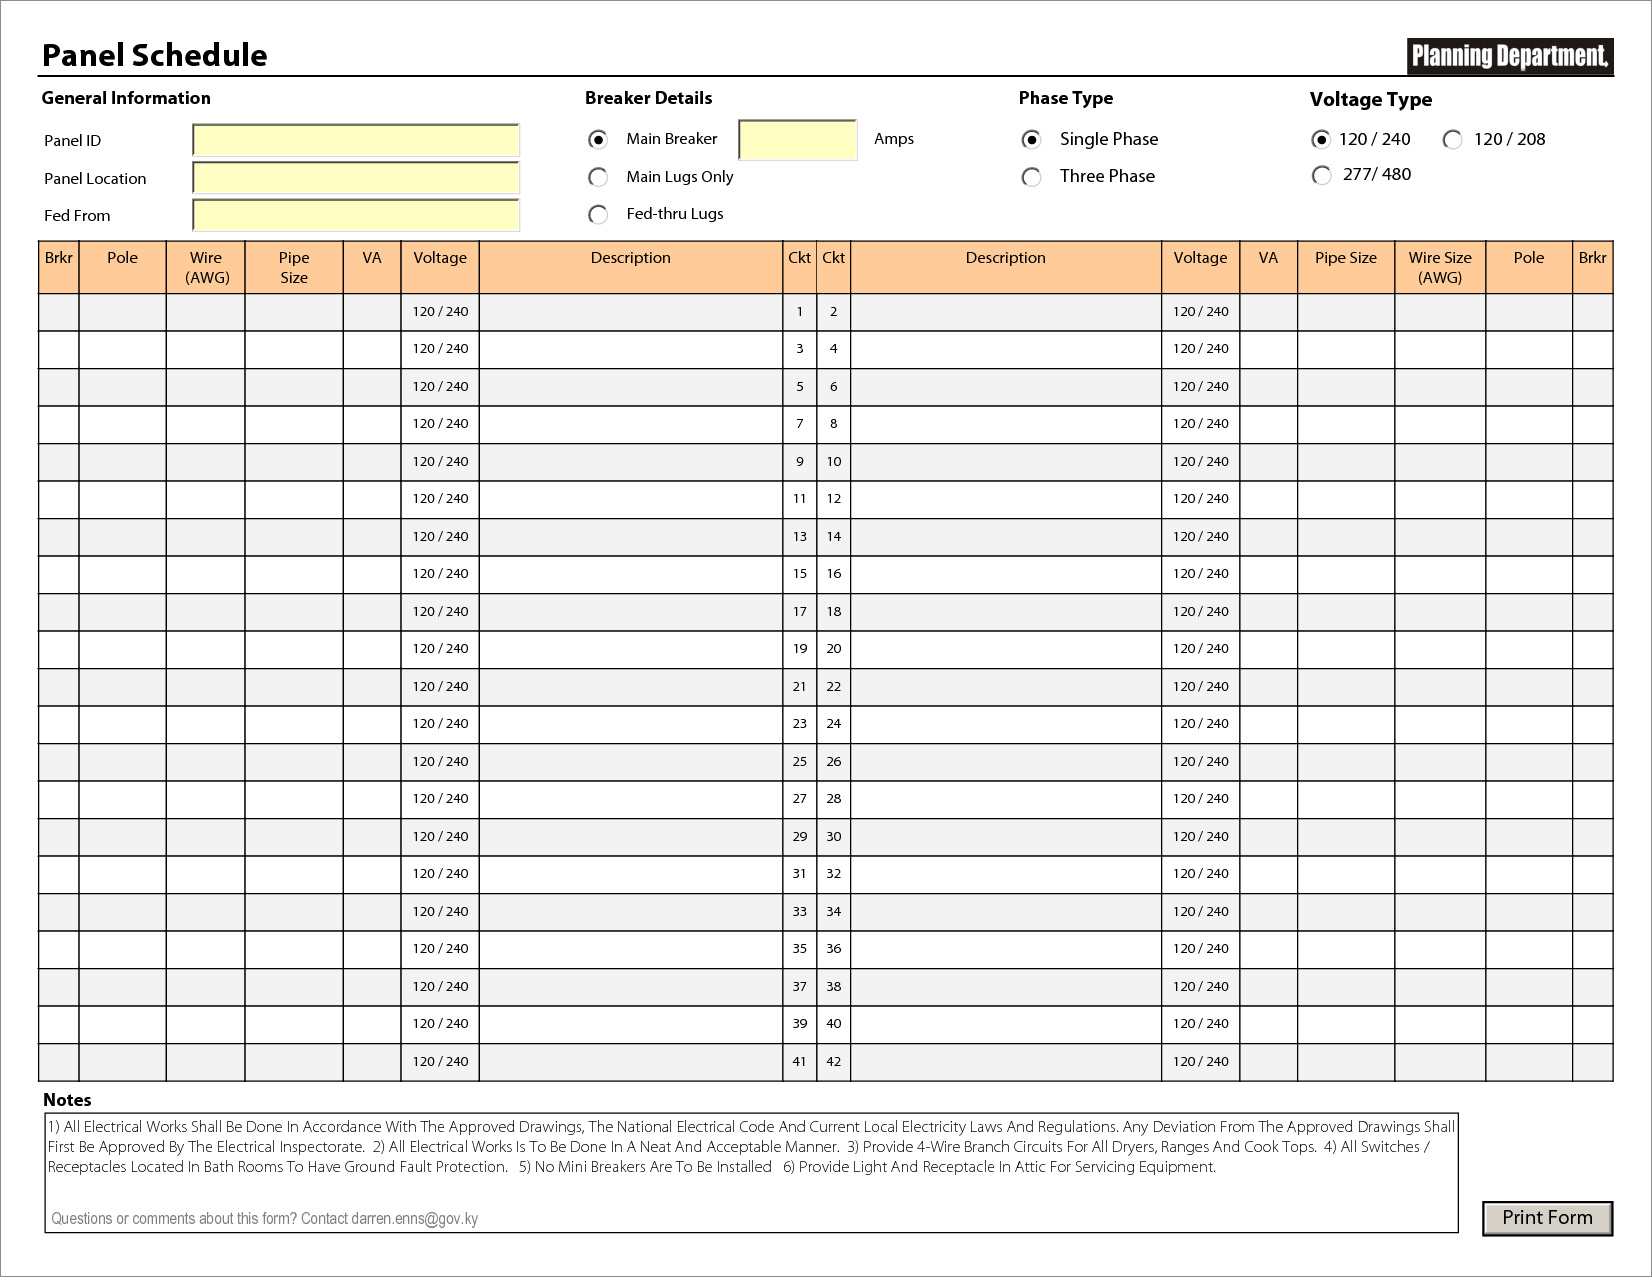
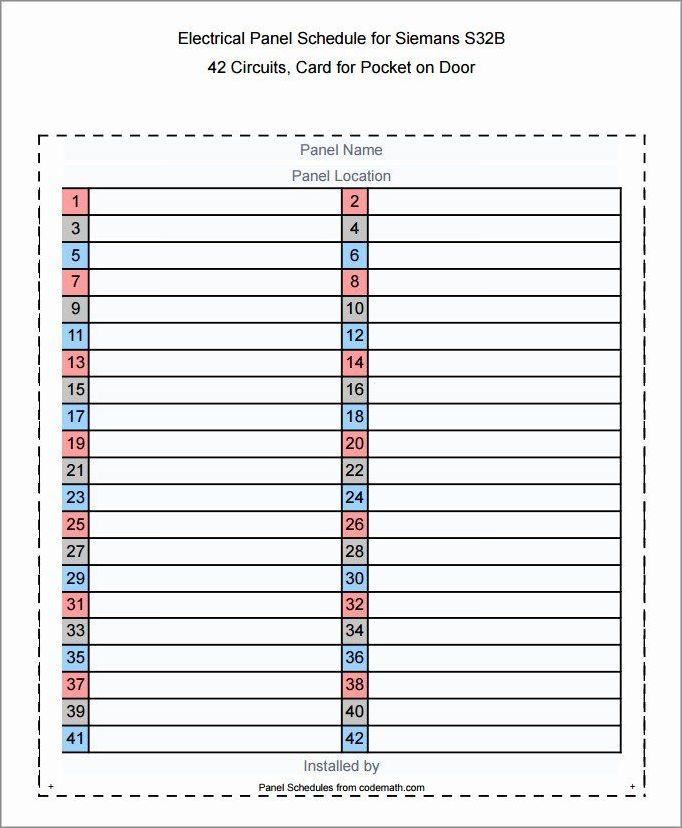
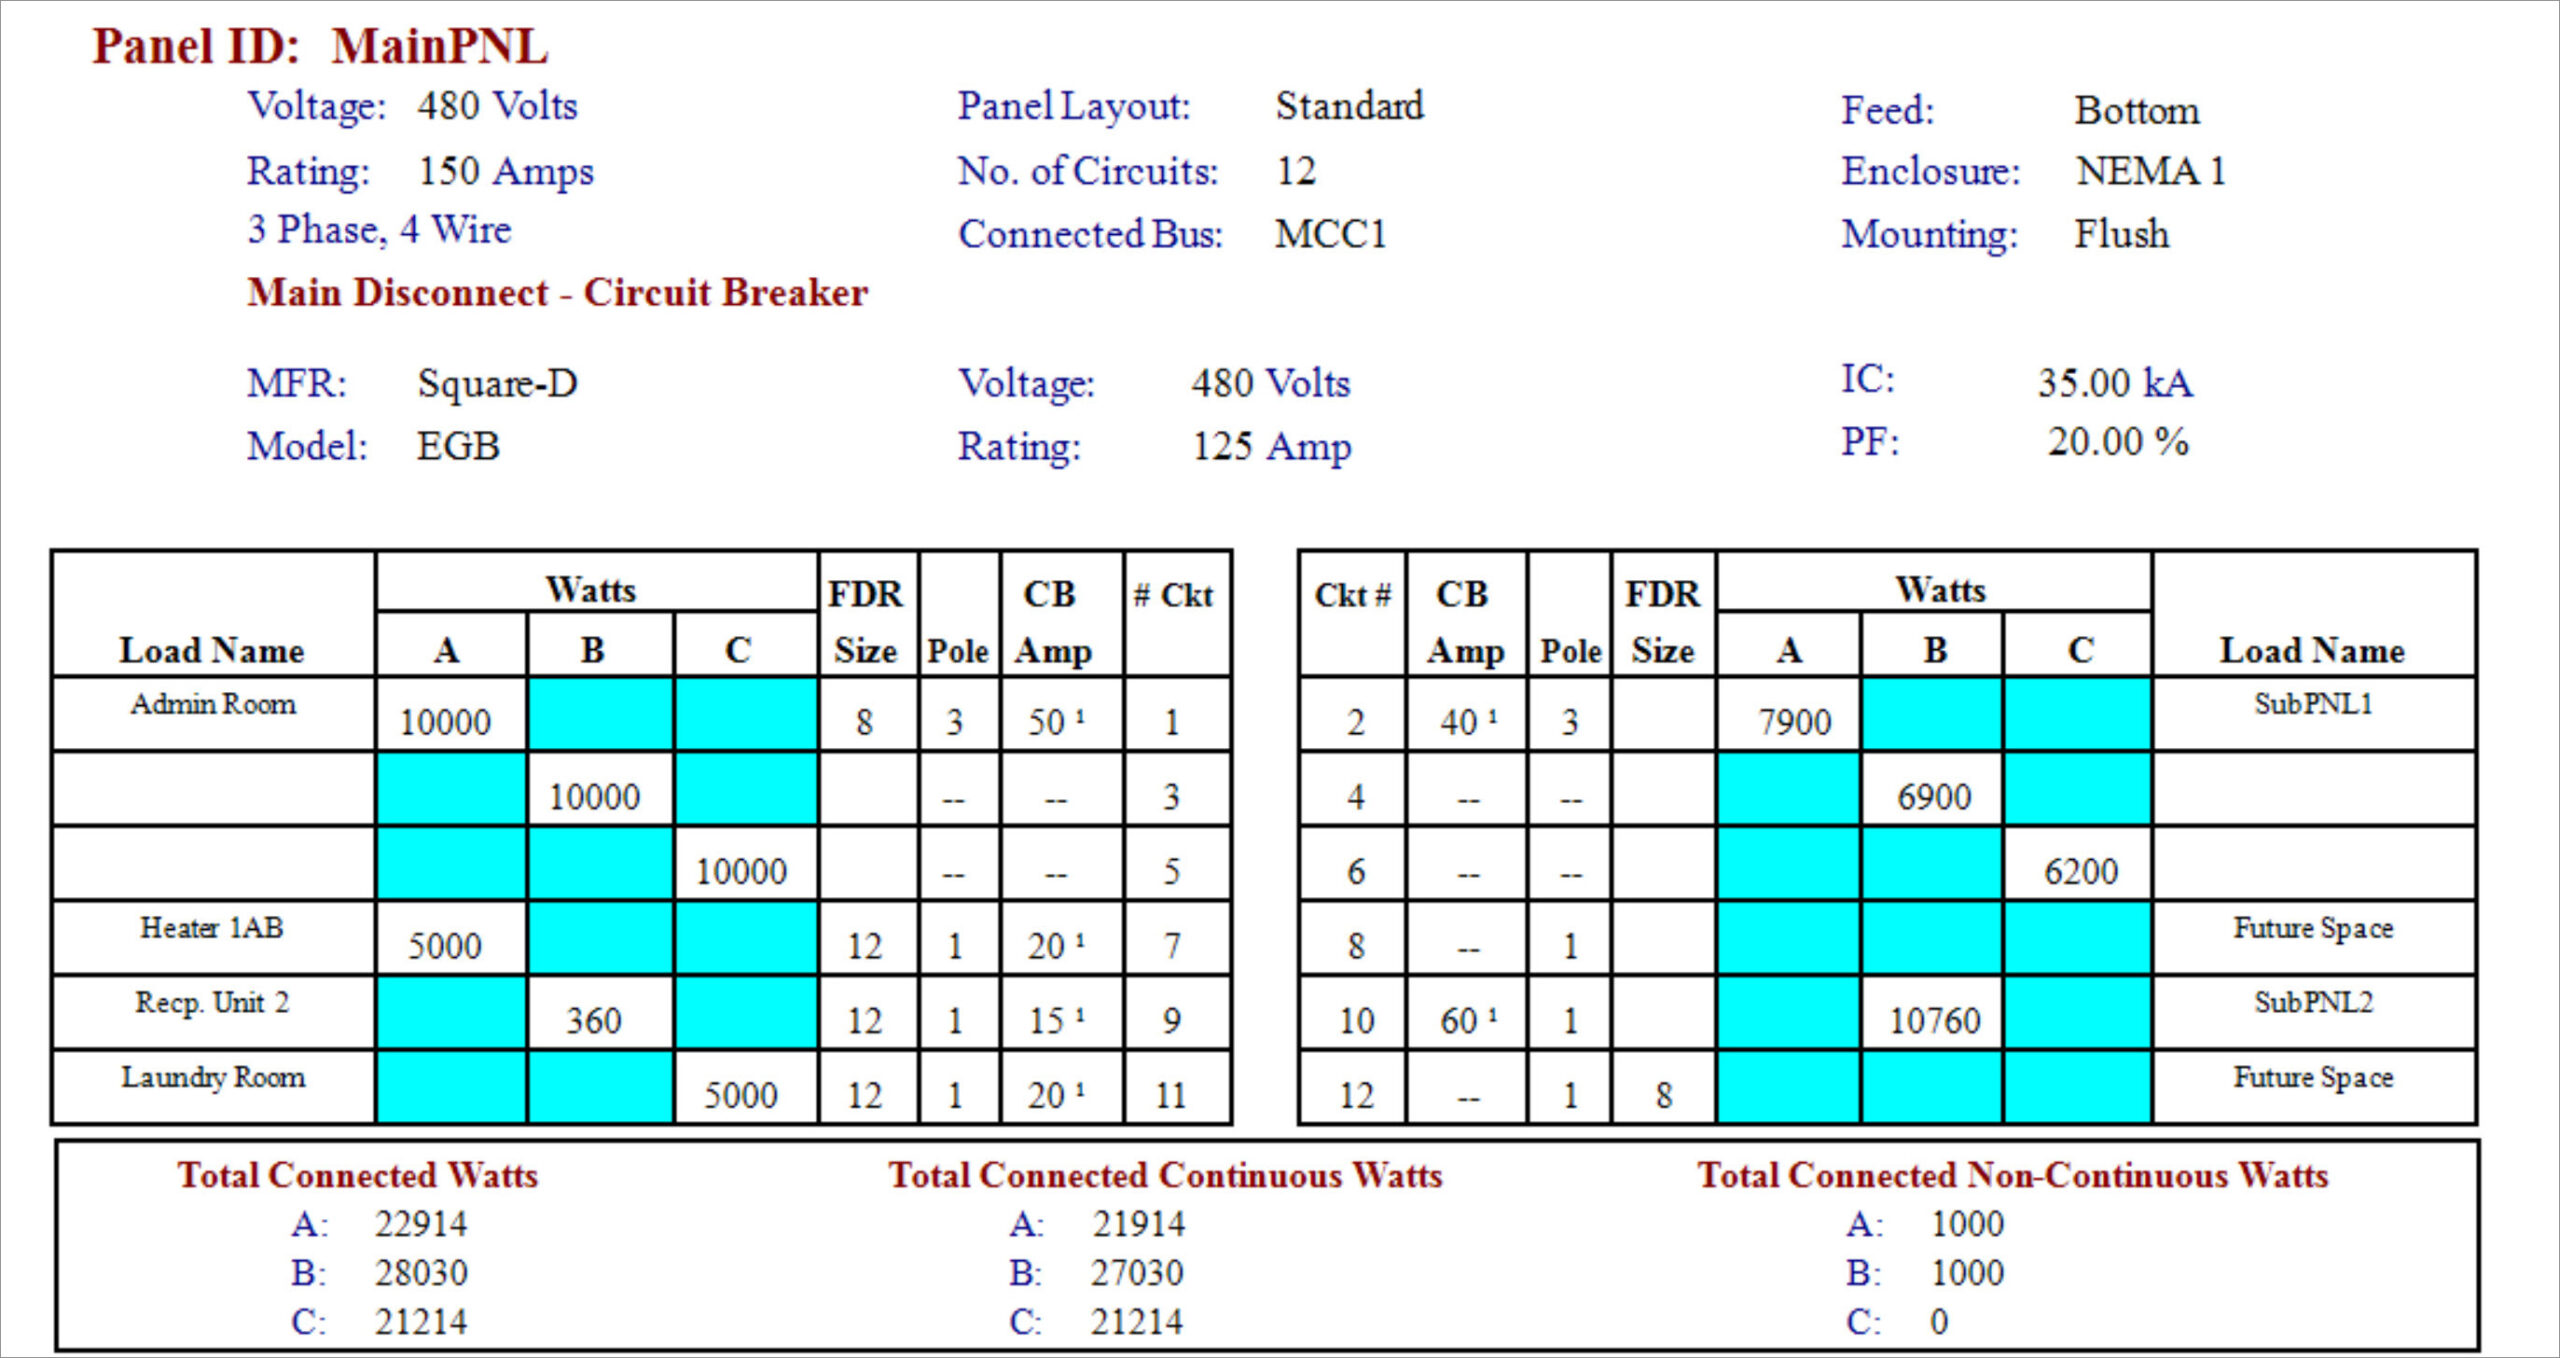
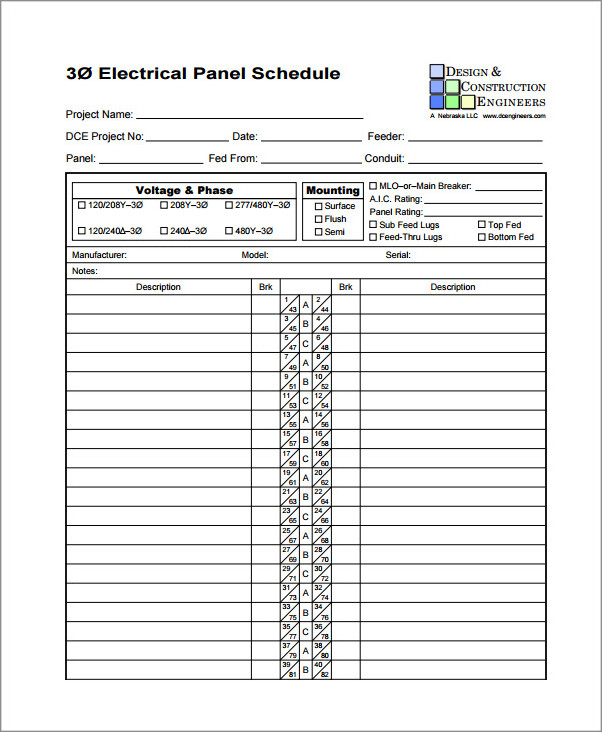
An electric panel schedule is a document that provides detailed information about the electrical circuits in a building or facility. It lists all the circuit breakers in the electrical panel and identifies the various circuits they control. The schedule typically includes information such as circuit numbers, breaker sizes, wire sizes, and the locations or areas served by each circuit.
Electric panel schedules are important for several reasons. Firstly, they help electricians and homeowners understand the electrical layout of a building. By referring to the schedule, they can quickly identify which circuit controls a specific area or appliance. Secondly, panel schedules are essential for troubleshooting electrical issues. If a circuit breaker trips, the panel schedule can help identify which circuit is affected and what devices or appliances are connected to it.
Why is an Electric Panel Schedule Important?
An electric panel schedule is important for several reasons.
- It helps ensure the safety of the electrical system. By having a clear and accurate panel schedule, electricians can easily identify circuits that may be overloaded or improperly wired. This knowledge allows them to make necessary adjustments or repairs to prevent electrical hazards such as fires or shocks.
- An electric panel schedule is crucial for maintenance and repairs. When an electrical issue occurs, having a panel schedule makes troubleshooting more efficient and less time-consuming. Electricians can quickly identify the affected circuit and focus on resolving the problem without wasting time searching for the correct breaker.
- An electric panel schedule is often required by electrical codes and regulations. When obtaining permits for electrical work or during inspections, having a panel schedule that complies with local codes is necessary. Failure to provide a proper panel schedule may result in delays or even fines.
How to Create an Electric Panel Schedule
Creating an electric panel schedule may seem daunting, but it can be done with a systematic approach. Here are the steps to create an electric panel schedule:
1. Gather the Necessary Information
Before creating an electric panel schedule, gather all the necessary information. This includes the number of circuits, the amperage rating of each circuit breaker, and the locations or areas served by each circuit. It’s also helpful to have a floor plan or diagram of the building or facility to map out the circuits.
2. Determine the Circuit Breaker Sizes
Next, determine the sizes of the circuit breakers in the electrical panel. The size of the breaker corresponds to the maximum amount of current it can handle. This information is typically marked on the breaker itself. Record the sizes of each breaker in the panel schedule.
3. Identify the Circuits
Once you have the breaker sizes, identify the circuits they control. This can be done by turning off each breaker one at a time and noting which areas or appliances lose power. Label each circuit with a unique identifier, such as a number or letter.
4. Determine the Wire Sizes
After identifying the circuits, determine the wire sizes used for each circuit. The wire size is determined by the amperage rating of the circuit and the length of the wire run. Refer to electrical code tables to determine the appropriate wire size for each circuit.
5. Create the Panel Schedule
Using the gathered information, create the panel schedule. This can be done using a spreadsheet or a specialized electrical software. Include columns for the circuit number, breaker size, wire size, and the areas or appliances served by each circuit. Organize the information clearly and logically.
6. Verify and Update
Once the panel schedule is created, verify the accuracy of the information. Double-check that the circuit numbers, breaker sizes, and wire sizes are correct. If any changes or updates are necessary, make them accordingly. It’s important to keep the panel schedule up to date as modifications or additions are made to the electrical system.
Tips for Using an Electric Panel Schedule
1. Safety First: Always follow proper safety procedures when working with electrical panels. Turn off the main power before making any changes or adjustments.
2. Regular Maintenance: Periodically review and update the panel schedule to ensure it reflects the current state of the electrical system.
3. Clear Labeling: Use clear and legible labels for circuit breakers and circuits. This makes it easier to identify and locate specific circuits.
4. Proper Storage: Keep a copy of the panel schedule in a safe and easily accessible location. It should be readily available for reference during maintenance or troubleshooting.
5. Professional Assistance: If you’re unsure about creating or updating a panel schedule, consult with a licensed electrician. They have the expertise and knowledge to ensure the accuracy and safety of the schedule.
6. Stay Informed: Keep up-to-date with the latest electrical codes and regulations. This ensures that your panel schedule remains compliant and meets the requirements.
In Conclusion
Electric panel schedules may not be the most exciting topic, but they are essential for the safe and efficient operation of your electrical system. By understanding what an electric panel schedule is and how to create one, you can better manage your electrical circuits and ensure the overall safety of your home or facility. Remember to always prioritize safety and consult with a professional electrician if you have any doubts or concerns.
Electric Panel Schedule Template Word – Download
