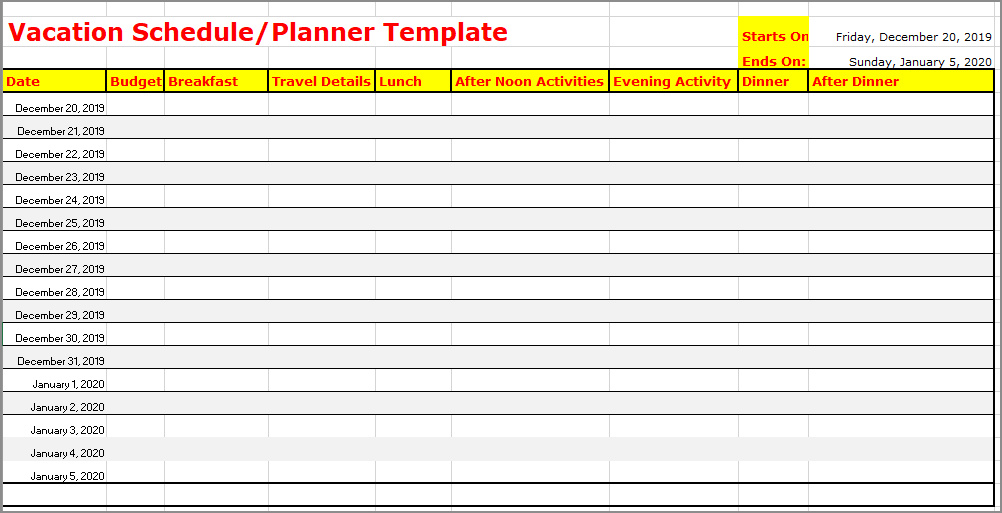
Planning and organizing vacations can be a daunting task, especially when you have multiple employees or family members to consider. Luckily, Excel offers a powerful tool that can simplify the process and help you create a comprehensive vacation schedule.
In this article, we will explore how to use Excel to create a vacation schedule, along with some tips and tricks to make the process easier. Whether you are managing a team at work or planning a family trip, this guide will help you stay organized and ensure everyone gets the time off they need.
What is a Vacation Schedule in Excel?
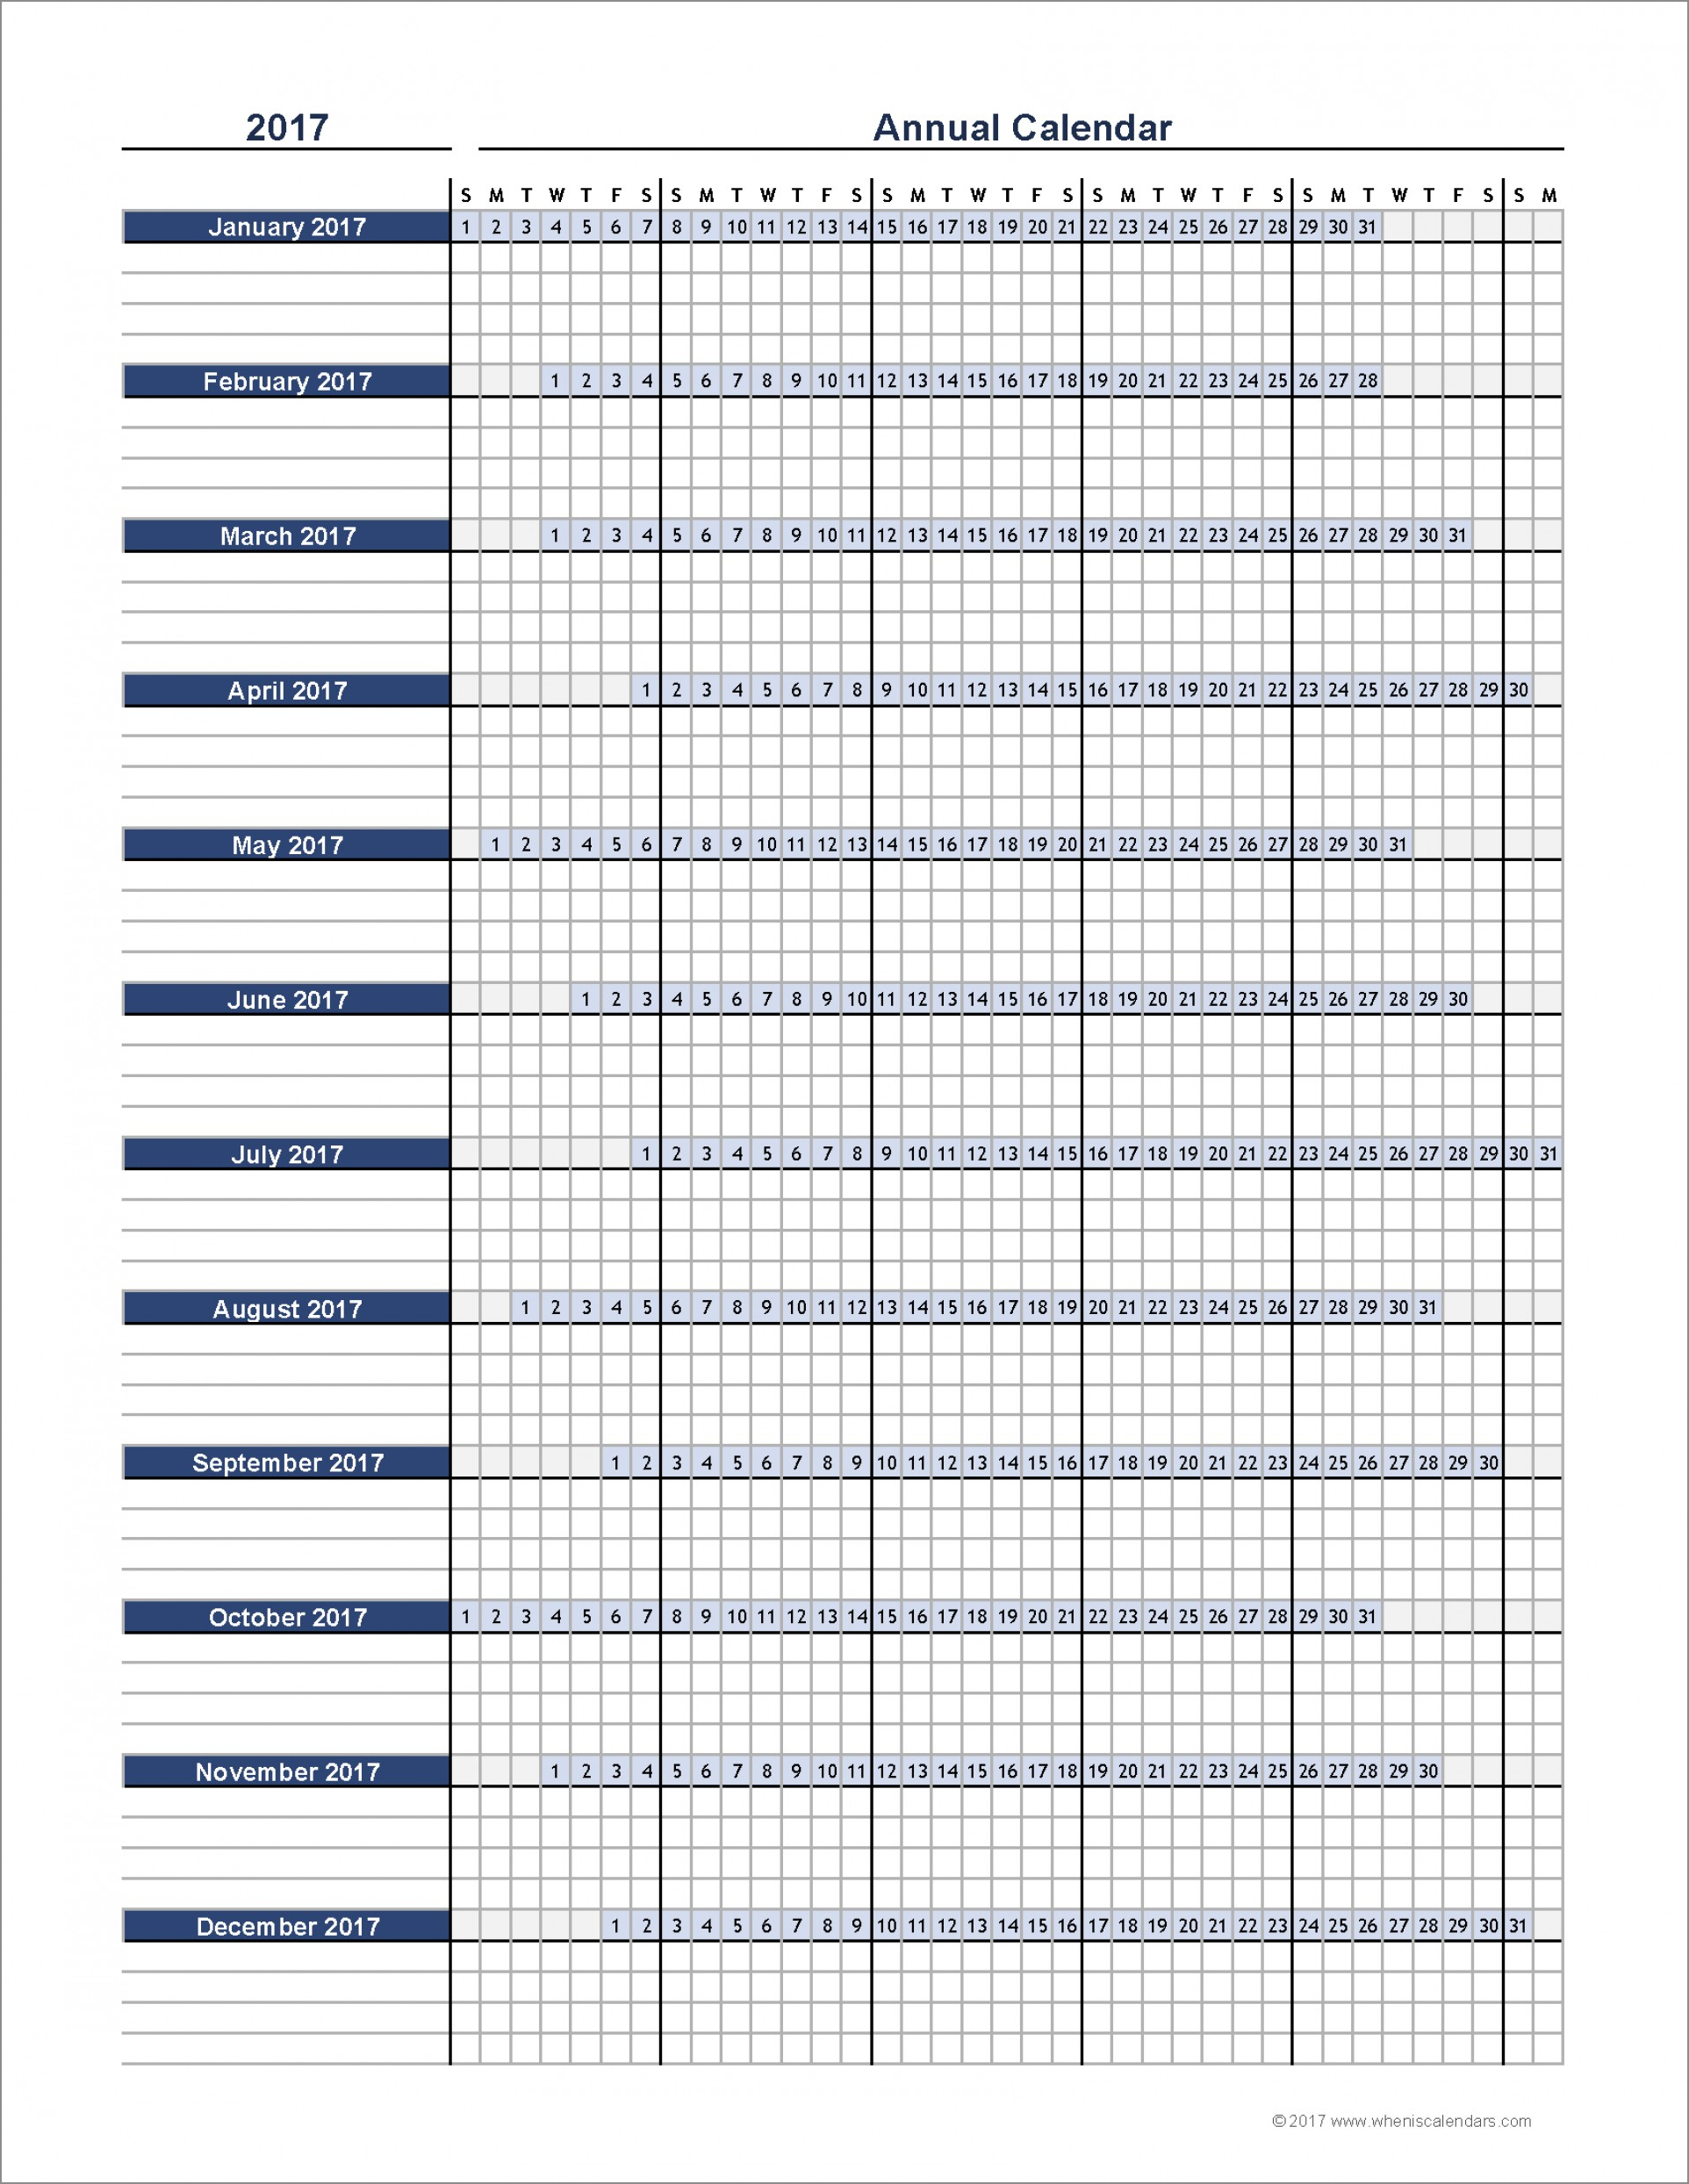
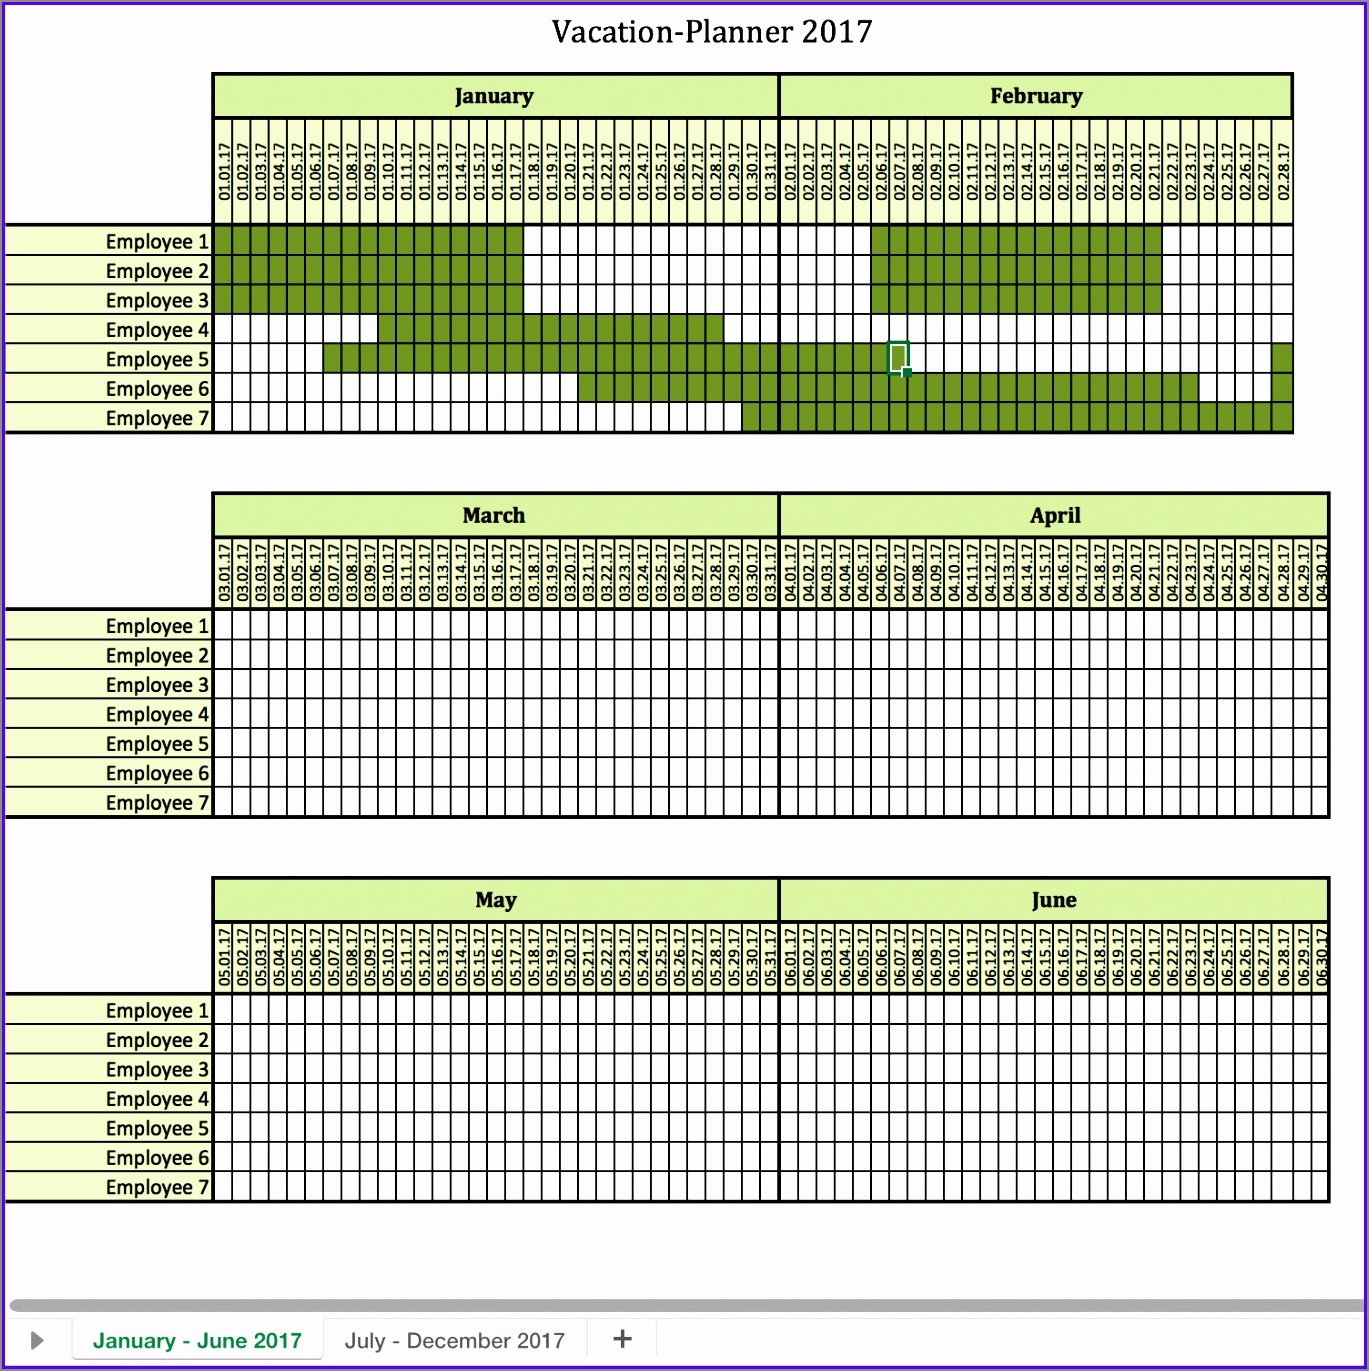
A vacation schedule in Excel is a spreadsheet that allows you to track and manage vacation requests for multiple individuals. It provides a visual representation of when each person will be on vacation, making it easier to plan and allocate resources accordingly. With a vacation schedule in Excel, you can easily see who is available and when, ensuring that there are no conflicts or overlapping time off.
Why Use Excel for Creating a Vacation Schedule?
Excel is a popular choice for creating vacation schedules due to its versatility and ease of use. It allows you to customize the schedule to fit your specific needs, whether you are managing a large team or planning a family vacation. Here are some of the benefits of using Excel for creating a vacation schedule:
- Flexibility: Excel allows you to create a vacation schedule that fits your unique requirements. You can customize the layout, add or remove columns, and apply formatting options to make the schedule visually appealing and easy to read.
- Automation: Excel offers various features and functions that can automate repetitive tasks and calculations. This can save you time and effort when managing and updating the vacation schedule.
- Collaboration: Excel allows multiple users to work on the same spreadsheet simultaneously, making it easy to collaborate with others when creating and managing the vacation schedule. You can also track changes and comments to ensure everyone is on the same page.
- Reporting: Excel provides powerful reporting capabilities, allowing you to analyze vacation patterns, track trends, and generate reports based on vacation schedule data. This can help you make informed decisions and improve future scheduling.
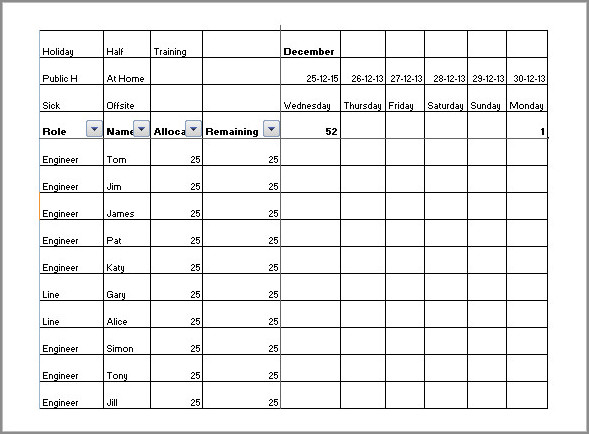
How to Create a Vacation Schedule in Excel
Now that you understand the benefits of using Excel for creating a vacation schedule, let’s dive into the step-by-step process of creating one:
Step 1: Start with a Blank Excel Spreadsheet
The first step is to open a blank Excel spreadsheet. You can do this by launching Excel and selecting “Blank Workbook” from the template options. Alternatively, you can open an existing Excel file and clear the contents to start from scratch.
Step 2: Define the Structure of the Vacation Schedule
Next, you need to define the structure of your vacation schedule. Decide on the columns and rows you want to include and the information you need to track. Here are some common columns you may consider:
- Name: The name of the person taking the vacation.
- Department: The department or team the person belongs to (if applicable).
- Date Requested: The date the vacation request was submitted.
- Start Date: The start date of the vacation.
- End Date: The end date of the vacation.
- Total Days: The total number of days the person will be on vacation.
- Comments: Any additional comments or notes related to the vacation request.
Feel free to customize the columns based on your specific needs. You can add or remove columns, rename them, or rearrange their order as required.
Step 3: Enter the Vacation Requests
Once you have defined the structure of your vacation schedule, it’s time to start entering the vacation requests. Begin by entering the name of the person, department (if applicable), date requested, start date, end date, total days, and any comments for each vacation request. You can add new rows for each request or copy and paste existing rows if you have multiple requests from the same person.
Step 4: Format the Vacation Schedule
To make the vacation schedule more visually appealing and easy to read, you can apply formatting options to different elements. Here are some formatting tips:
- Font and Font Size: Choose a clear and legible font for the text in your vacation schedule. Adjust the font size to ensure the text is readable.
- Color: Use color to highlight important information or differentiate between different types of vacation requests (e.g., personal vacations vs. medical leaves).
- Borders: Apply borders to separate different sections of the vacation schedule and make it easier to navigate.
- Conditional Formatting: Utilize conditional formatting to automatically highlight vacation requests that meet specific criteria (e.g., overlapping dates).
Experiment with different formatting options to find a style that suits your preferences and makes the vacation schedule easy to understand at a glance.
Step 5: Add Formulas and Functions (Optional)
If you want to automate certain calculations or perform specific tasks based on the vacation schedule data, you can add formulas and functions to your Excel spreadsheet. Here are some examples:
- Total Vacation Days: Use the SUM function to calculate the total number of vacation days for each person. This can help you track and manage resource allocation.
- Remaining Vacation Days: Subtract the total vacation days from the allotted number of vacation days for each person to determine how many days they have left.
- Automatic Approval: Use an IF statement to automatically approve vacation requests that meet certain criteria (e.g., if the requested dates do not overlap with existing vacations).
Adding formulas and functions can significantly streamline the vacation scheduling process and reduce the risk of errors.
Step 6: Share and Collaborate on the Vacation Schedule
Once you have created the vacation schedule in Excel, it’s time to share it with the relevant stakeholders and collaborate on any necessary updates or changes. You can save the Excel file to a shared network drive, upload it to a cloud storage service, or use collaboration features within Excel to allow multiple users to work on the same spreadsheet simultaneously. Make sure to communicate any guidelines or procedures for updating the vacation schedule to ensure everyone is on the same page.
Step 7: Regularly Update and Maintain the Vacation Schedule
A vacation schedule is a dynamic document that requires regular updates and maintenance. As new vacation requests come in or existing ones change, make sure to update the schedule accordingly. Communicate any updates or changes to the relevant individuals and ensure the schedule is always up to date. Regularly reviewing the vacation schedule can help you identify any conflicts or issues ahead of time and make necessary adjustments.
Conclusion
Creating a vacation schedule in Excel can help you stay organized and ensure everyone gets the time off they need. By following the step-by-step process outlined in this guide, you can create a comprehensive and visually appealing vacation schedule that meets your specific requirements. Remember to regularly update and maintain the schedule to keep track of new vacation requests and changes. With Excel as your tool, managing vacations will become a breeze, whether it’s for your team at work or your family’s next adventure.
Vacation Schedule Excel Template – Download
